A blade that rattles in the emitter can ruin a great first ignition. It can also put unnecessary stress on the blade, retention screws, and internal electronics during spins or dueling. Installing a saber blade correctly takes only a few minutes, but the details matter: use the right blade type, seat it fully, and secure it firmly without overtightening anything.
Whether you are setting up a Youngling saber for a gift, fitting a Jedi hilt for a cosplay event, or preparing a heavier Sith build for recreational dueling, this process should feel straightforward. Slow down for the first installation, and every blade swap after that will be easy.
Before Installing a Saber Blade
Start with compatibility. Most modern sabers use either a 7/8-inch or 1-inch diameter blade. The blade needs to match the inside diameter of your hilt's emitter. A 1-inch blade will not fit into a 7/8-inch emitter, and forcing a smaller blade into a hilt designed for a larger diameter can create an unstable fit.
Next, confirm the blade is appropriate for your saber's electronics. Pixel blades contain LEDs along the length of the blade and connect to a pin assembly in the emitter. Baselit blades are illuminated from the hilt, so their lower end is simpler. They may look similar from a distance, but they are not interchangeable in every hilt.
If your saber arrived with a blade plug, remove it before fitting the full blade. Blade plugs protect the emitter when no blade is installed and can create a cool display effect, but they are not meant to stay in place underneath a blade.
Take a moment to inspect the emitter, too. Look for packing material, loose debris, or anything covering the connector. Never insert a blade into a powered hilt if you can avoid it. Turn the saber off first, especially with a pixel setup, so the connector pins are not exposed to an accidental bump or scrape.
What You Need for a Secure Fit
You usually need only the blade, the hilt, and the included Allen key. Some hilts use one retention screw, while others use two or more. These small set screws hold the blade in the emitter, so locate them before you begin.
A clean towel or soft surface is also helpful. It protects the finish of your hilt and keeps tiny retention screws from disappearing across the floor. If you are working with a new saber, leave any protective film on the blade until you confirm the fit. Then remove it before lighting the blade for the best effect.
Do not reach for pliers, thread locker, or a power drill. A retention screw only needs enough pressure to stop movement. Heavy-handed tightening can strip the screw, mark the blade, or damage the threaded hole in the emitter.
Installing a Saber Blade Step by Step
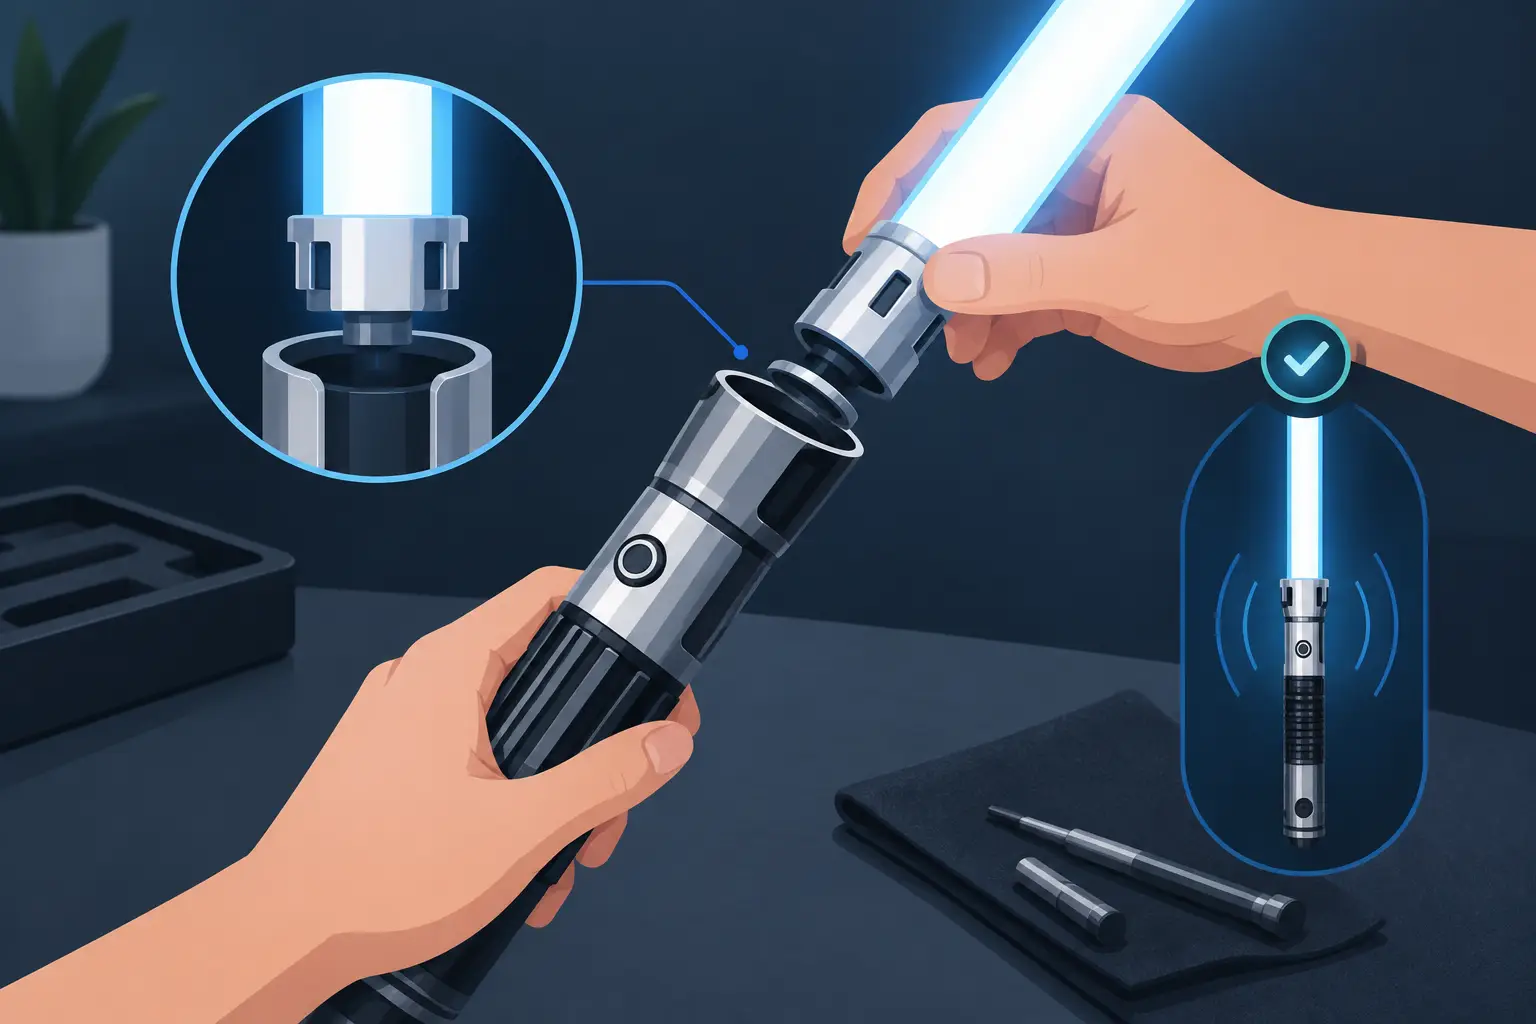
Set the hilt on a stable surface with the emitter facing upward. Loosen the retention screw or screws just enough to clear the inside of the emitter. You do not usually need to remove them completely. Keeping them partly threaded makes them much easier to manage.
With a pixel saber, look into the emitter before inserting the blade. You should see the connector pins at the base. Hold the blade straight and lower it gently into the emitter. The blade should meet the connector without sideways pressure. If you feel resistance before it seats, pull it back out and check the alignment. Never twist, slam, or force a pixel blade down onto the pins.
With a baselit saber, insert the blade straight into the emitter until it reaches the bottom. Depending on the hilt design, you may feel the blade touch the internal LED module or a stop inside the emitter. Again, the goal is a fully seated blade, not a hard impact.
Once the blade is seated, keep it centered and tighten the retention screw. If your hilt has two screws, alternate between them so one side does not push the blade off center. Tighten until the blade does not rotate or shift when you apply light hand pressure. That is enough.
Turn the saber on only after the blade is secured. Check the ignition from several angles. A pixel blade should light evenly from base to tip. A baselit blade will naturally be brightest near the emitter, but it should still illuminate cleanly with no strange flickering caused by a loose connection.
Test the Blade Before You Duel
A good first test is simple: hold the hilt with one hand and gently try to rotate the blade with the other. If it turns, tighten the retention screw in small increments. Then make a few controlled swings in open space. Listen for clicking, rattling, or a change in sound when the blade moves.
For a display saber, this may be all you need. For spinning practice, cosplay, or contact-based recreational dueling, repeat the check after your first session. Impact and vibration can settle a blade farther into the emitter, particularly on a new setup. A quick retightening is normal.
The right amount of security depends on how you use the saber. A collector who displays a character-inspired hilt can prioritize a clean, unmarked blade. A Grey Jedi who trains with a saber regularly may prefer a more secure retention setup and a durable blade chosen for practice. Neither approach is wrong. Match the setup to the mission.
Common Problems and What They Usually Mean
If the blade will not slide all the way into the emitter, stop before applying more force. The most common causes are the wrong blade diameter, a retention screw still protruding into the emitter, a blade plug left in place, or a connector alignment issue. Check each one carefully.
If a pixel blade does not ignite, remove it with the saber powered off and inspect the connector area. Make sure the blade was seated fully and that no protective packaging remains inside the emitter. Reinsert it straight and test again. If the blade still does not respond, do not keep pushing or twisting it. A real support team can help you troubleshoot the fit without risking the pins.
If the blade flickers only when you move it, start by checking blade depth and retention screw tension. A partially seated blade can lose contact during a swing. If it remains fully seated and the issue continues, stop using it for dueling until you can identify the cause.
If the blade has visible screw marks, the screw was likely tightened too far. Small marks do not usually affect function, but they are a reminder to use controlled pressure next time. For a display-focused build, rotating the blade slightly before reinstalling can keep any marks out of view.
Care Between Installations
Remove the blade before long-term storage or travel when practical. A separate blade is easier to pack safely, and an empty emitter is less likely to experience leverage from an accidental bump. Reinstall the blade only when you are ready to display, train, or duel.
Keep the connector area clean and dry. Dust, loose fabric fibers, and moisture do not belong inside the emitter. Wipe the outside of the blade with a soft cloth, and avoid harsh cleaners that can cloud the polycarbonate tube or affect the finish of the hilt.
It is also smart to check retention screws occasionally. They are small parts doing an important job, especially after energetic use. Keep the included Allen key somewhere memorable, rather than tossing it into the same drawer as every other tool in the house.
A properly installed blade should feel like part of the saber, not an accessory perched on top of it. Take the extra minute to check the fit, treat pixel connections with care, and stop when something does not feel right. That small bit of attention keeps your first ignition bright, your hilt protected, and your next session ready for action.